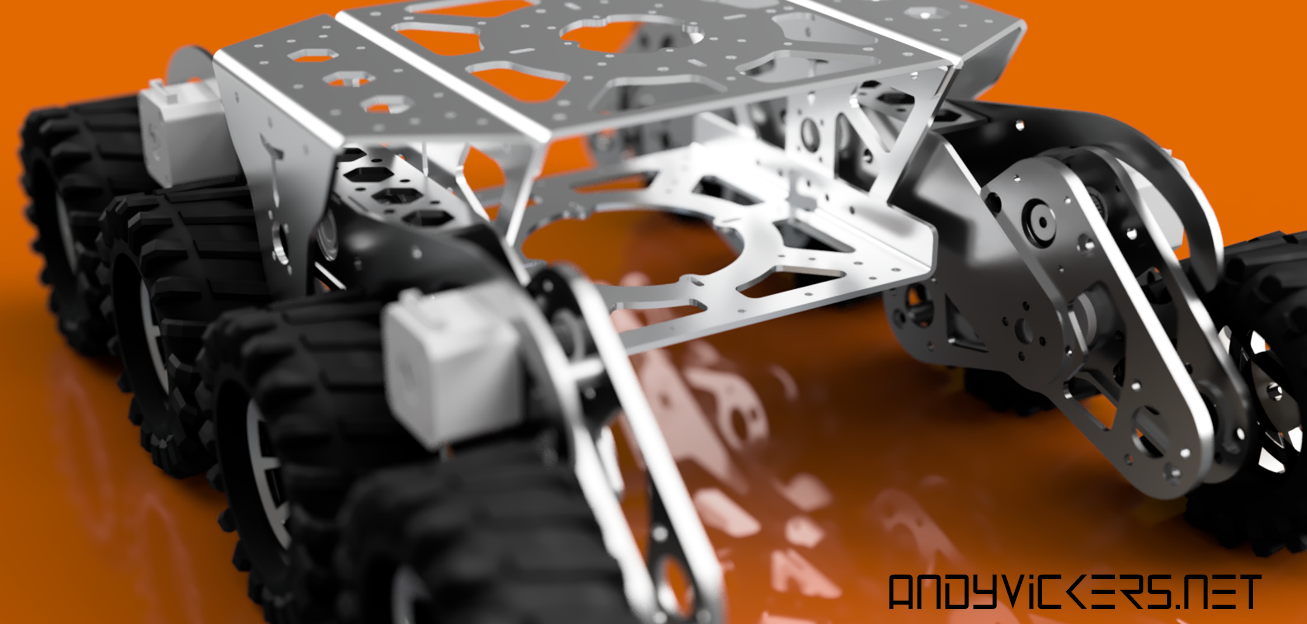
In my last post you saw me dry fit my metal cut parts. Now I need to make sure they cant come apart. To do that I’m going to try my hand a brazing. I have a mig welder but all my research tells me you have to be a fourth order weld lord to be able to weld aluminium with a mig so brazing seems to be all I have open to me.
What is Brazing?
Google informs me that brazing aims to form, fix, or join by soldering with an alloy of copper and zinc at high temperature.
OK how do I do it?
well first you are going to need a few things, and since I am writing this blog post after completing this exercise I can save you trips to the hardware store by telling you everything you need up front
- Aluminium Brazing Rods (AL3 | Bernzomatic) Home Depot: Bernzomatic AL3 Aluminum Brazing and Welding Rods-334491 – The Home Depot
- MAP Gas and torch (that’s the yellow tank). It has to be MAP has because the temperature needs to be very high
- Organic solvent such as acetone – this is for cleaning the grease and oils from the metal. you can use string soap but these may have residues that can have an adverse effect. Klean-Strip 1 qt. Acetone-QAC18 – The Home Depot
- Stainless steel wire brush – this is important. dont be tempted to use steel, or brass coated steel ( harbour freight sell these and they look like they may work but they dont – take it from me
- Gloves – Thick, non flammable gloves. you are going to be dealing with metal at temperatures that will gladly keep any of the skin you care to deposit on it. welders gloves are a good example
Now you have everything together, lets get started!
Step 1 – Brush the shit out of all the places you are going to be brazing. Clean and rough the surface up really nice. I know you will die a little inside because the surface finish is really nice off the laser but you gotta do it so suck it up sailor!
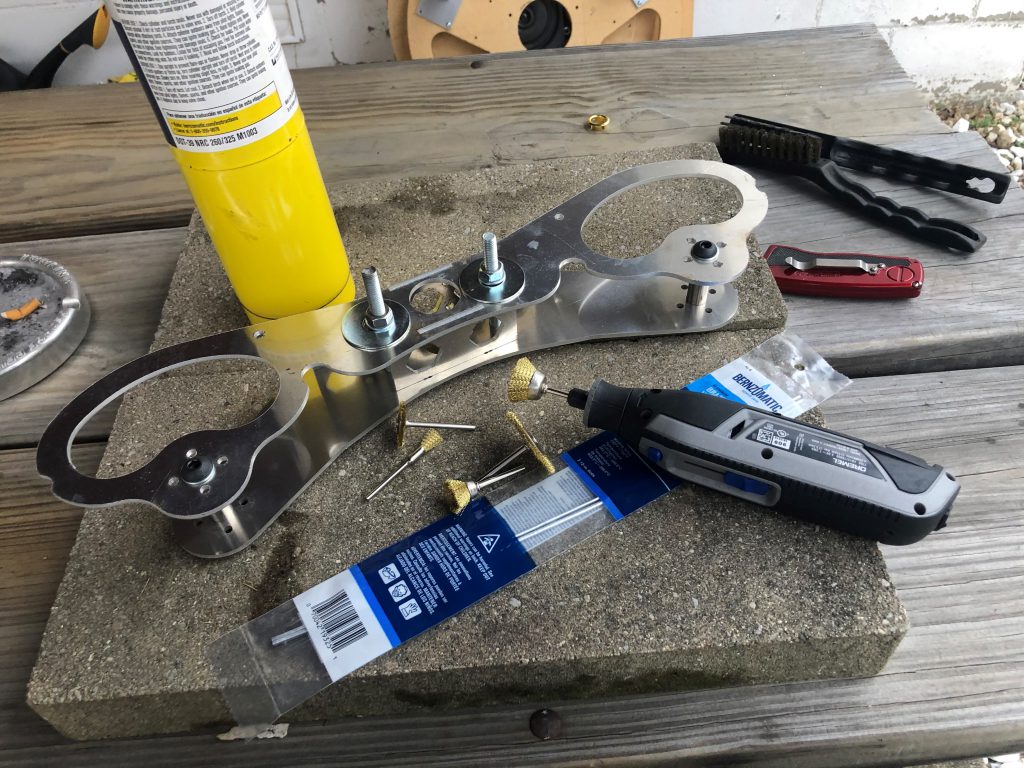
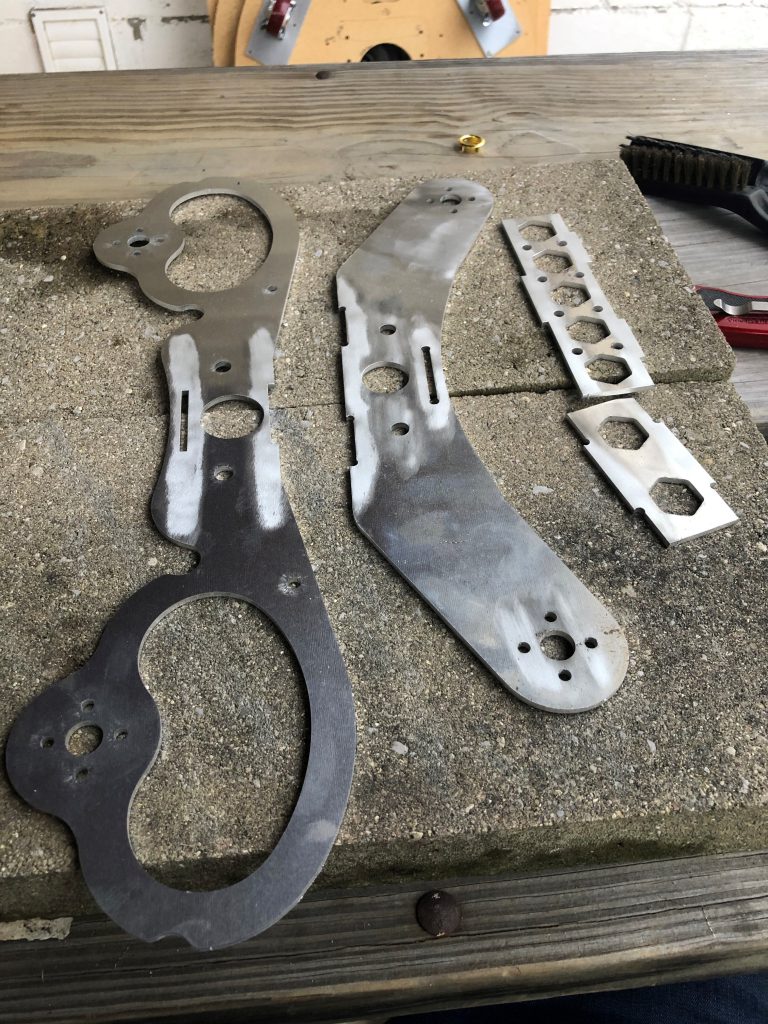
Step 2 – WIPE. Once the areas where you will be brazing are nice and clean from brushing you now need to make sure the workpiece is free of any last oils or grease. Put some acetone on a lint free rag and wipe everything down. Use in a well ventilated picnic table on your back patio.
Step 3 – Safety. Put your workpiece away from anything combustible. I used a large paving stone. Make sure nothing that could catch fire is anywhere near you. Make sure any loose clothes or hair is under control, make sure the pets are inside. This is a hot hot flame, it will ignite anything in its path if given the chance. I am not trying to scare you, just please respect it. Now put your gloves on and light your torch.
Step 3 – Heat. Reviews for brazing rods are divided into two groups – 5 stars for people that got the work piece hot enough and 0 stars for people that did not. Now with that in mind remember you are heating a small portion of what is essentially a giant aluminium heat sync. Getting a big piece hot enough takes a long time – especially if like me you were doing this outside on a cold day. you could have the flame on your workpiece for over 5 minutes before your brazing stick melts in contact with the metal.
Important: You are not heating your brazing rod, that must remain cold. Do not put your brazing rod into the flame for any longer than a split second. I’m telling you that now so you don’t do it before we talk about technique. This is important.
Now you are safely warned, the hottest part of the flame is the blue part, at 1670 degrees F / 1400 C. That is where the flame has the most oxygen and you are getting complete combustion. The reddish part is the coolest part, about 1070 F (800C). Stick the blue part of the flame on your joint and wait.
After a couple of minutes, take your brazing rod and run it down the seam of your joint in one swift, smooth motion. if nothing happens, wait another minute and do it again. At some point when the metal is hot enough the brazing rod will start depositing metal in the seam. don’t be tempted to dwell and try and get more to melt just wait a moment, then run it down the seam again. build up a couple of layers and it will look like this:
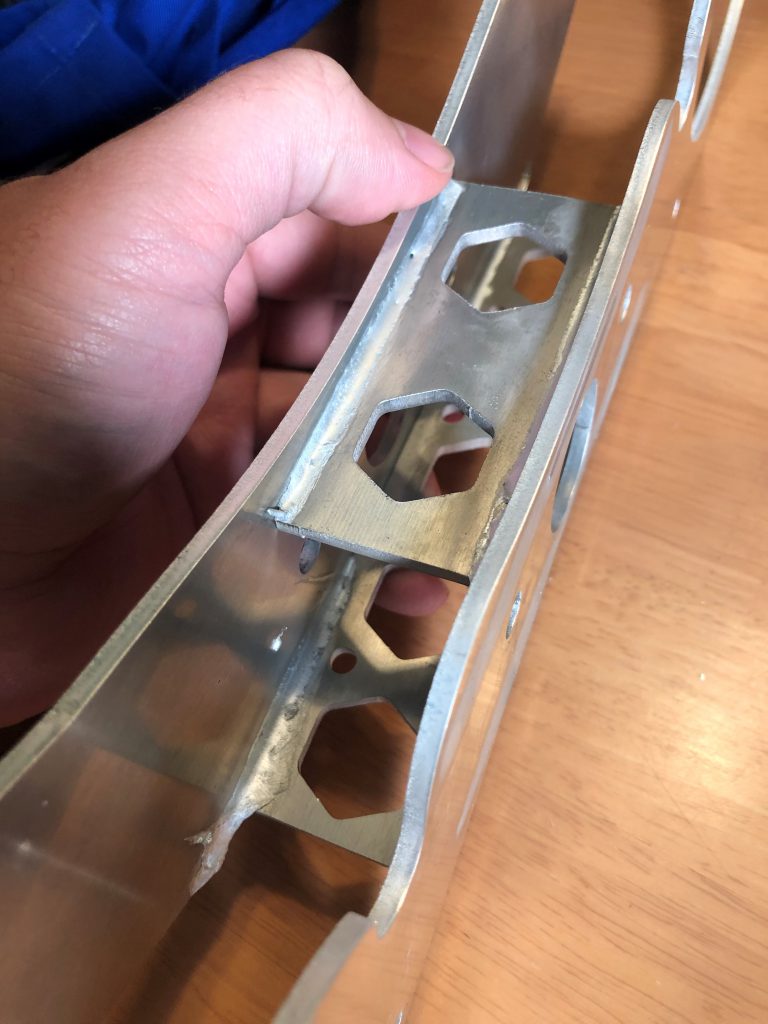
Now I know I will not be making the state championships this year for neat brazing but this is functional, it is strong and it will hold. This is all you need to do. You are not trying to double the weight.
Now if you go overboard like I did below, things will look messy. you can grind the excess off with a grinding wheel in the dremel or an angle grinder if you really messed up. I would learn from my mistakes here and stick to the less is more approach.
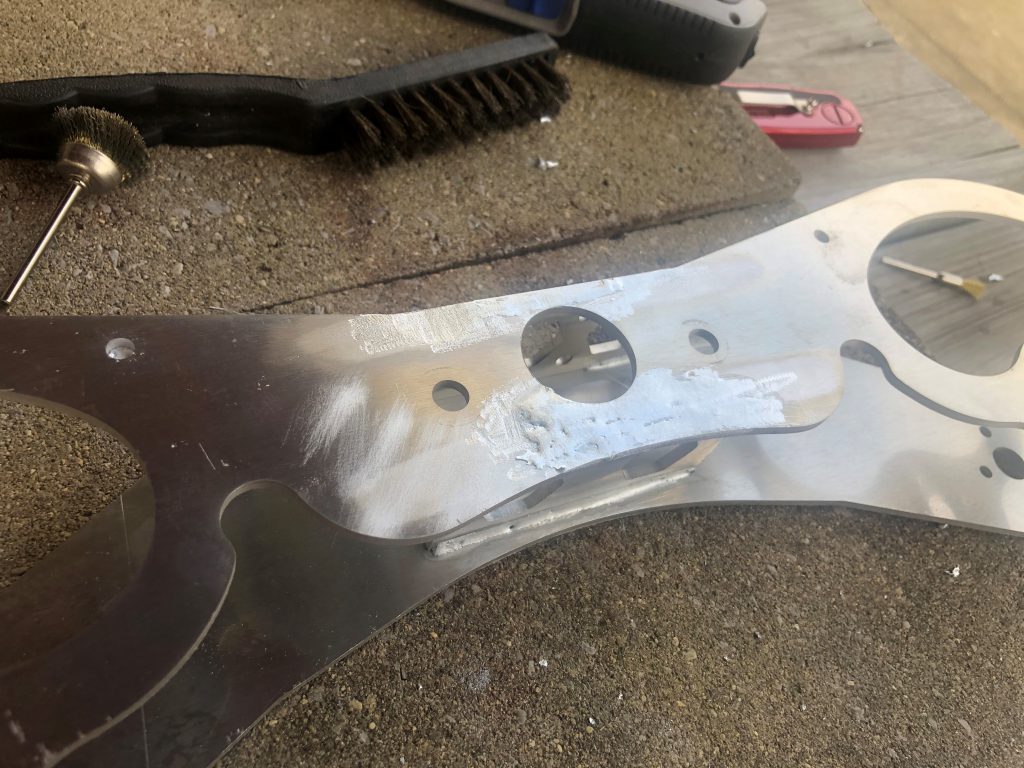
That’s all there is to it. Remember, your parts are going to stay hot for a long time after you put them down. you have been soaking heat into them for some time now so make sure you give them time to cool in a safe place away from any sources of fuel. Aluminium doesn’t glow red when it is hot as its melting temperature is below the point at which red hot metals are usually emissive. Aluminium will appear silver when its molten. I’m lucky enough to have worked in places where we cast aluminium and can tell you this first hand. It is worth remembering that you wont see anything glowing so you must use your common sense to know if its still hot or if its safe to touch. an IR thermometer is a good way to tell if you want to check from afar.
Thanks for reading! see you next time where we will put some guts in these rocker bogies 🙂
